


These custom watches are printed in multiple colors by dividing the prints into separate layers.
To change color it is necessary to cause a filament change and to change
the filament or to use separate .gcode files that you can find here.
I strongly recommend printing through separate gcode (one for each
print level), especially if you need to print more than two levels
(colors), because it is a much more precise and reliable method and
because you can print even days away from one level to another (without
removing the part already printed from the print bed)
Only if you use .gcode files:
If you do not immediately print the next levels, it is advisable to
heat the print bed, with the previously printed part, for a few minutes
before printing.
Here you can find the gcode files (two print resolution, 0.1 or 0.2) to
print the levels separately without problems, even at different times.
Files are setting for: PLA filament with Prusa Mendel i3 clone with 0.4 nozzle.
You have to download the .txt files and rename them .gcode
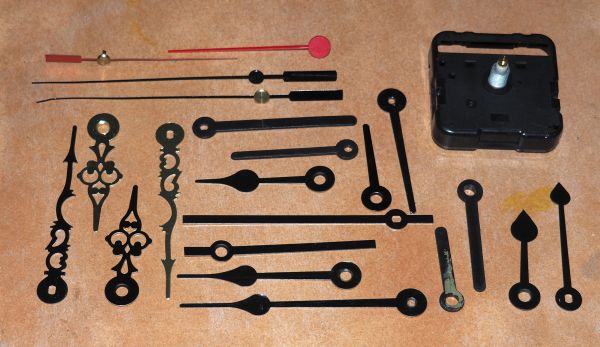
Examples of mechanisms to buy (esempi di meccanismi con lancette da acquistare):
https://www.amazon.it/Kettchen-orologio-mandrino-movimento-lunghezza/dp/B07H2SKTKP/ref=sr_1_23?ie=UTF8&qid=1539014667&sr=8-23&keywords=Meccanismi+Orologi
https://www.amazon.it/analogico-casalinghi-alluminio-meccanismo-silenzioso/dp/B07CLRWT7H/ref=sr_1_26?ie=UTF8&qid=1539014667&sr=8-26&keywords=Meccanismi+Orologi
How to do (come fare):
Italiano:
Questi orologi personalizzati, sono stampati a più colori dividendo le stampe in livelli separati.
Per cambiare colore occorre causare un cambio filamento e cambiare il filamento oppure realizzare dei files .gcode separati.
Io consiglio caldamente di stampare tramite separati gcode (uno per
ciascun livello di stampa), specie se è necessario stampare più di due
livelli (colori), perché è un metodo molto più preciso e affidabile e
perché si può stampare anche a giorni di distanza da un livello
all'altro (senza togliere la parte gia stampata dal letto di stampa)
Solo se usi i file .gcode:Se non effettui immediatamente la stampa dei livelli successivi, è
consigliabile riscaldare il letto di stampa, con la parte stampata
precedentemente, per qualche minuto prima di procedere alla stampa
Qui puoi trovare i files gcode (due risoluzioni disponibili, 0.1 o 0.2)
per stampare separatamente i livelli senza problemi, anche in tempi
diversi.
I file gcode sono impostati per: Prusa Mendel i3 clone con ugello da 0.4 e filamento PLA)
Devi scaricare i file .txt e rinominarli .gcode
| Price | $2.99 |
| Category | Household |
| Purchases | 3 |
| Views | 2800 |
| Likes | 1 |
| Uploaded | 10/8/2018 |
This work is licensed under the Redpah License.
| SgtPeppers_RES_0.1_Lev1YELLOW.txt | 981 KB |
| SgtPeppers_RES_0.1_Lev2BLU.txt | 2 MB |
| SgtPeppers_RES_0.1_Lev3RED.txt | 2 MB |
| SgtPeppers_RES_0.1_Lev4GREEN.txt | 1 MB |
| SgtPeppers_RES_0.2_Lev1YELLOW.txt | 574 KB |
| SgtPeppers_RES_0.2_Lev2BLU.txt | 1 MB |
| SgtPeppers_RES_0.2_Lev3RED.txt | 1 MB |
| SgtPeppers_RES_0.2_Lev4GREEN.txt | 824 KB |
Comments